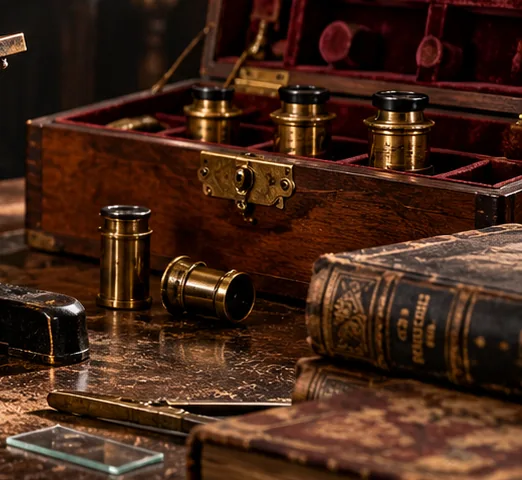
Conservation-first cleaning without erasing historic finishes. These notes prioritize evidence over decorative language and make no claim to appraise an individual instrument.
The golden rule: preserve, do not modernize
Original lacquer, oxidized brass and age-worn finishes are part of an instrument’s history. Aggressive polishing can strip the finish, soften signatures and erase evidence valuable to collectors. Shiny does not necessarily mean historically correct.
Begin with documentation
Photograph the microscope in its received condition, including any dents, loose fasteners and optical haze. Note whether there is evidence of an original protective finish. If the instrument is rare or fragile, consult a specialist conservator before touching it.
Low-intervention housekeeping
For stable exterior surfaces, gentle dry dusting with a soft clean brush may be appropriate. Do not apply household brass polish, abrasive paste, WD-40 or unknown solvents to optics, lacquer or fine focusing mechanisms. Avoid dismantling assemblies without the correct service information.
Optics are a separate question
Historical glass may have coatings, cemented elements or delicate mounts. If an eyepiece is hazy, do not assume the solution is ordinary window cleaner. Photograph the condition and seek optical-conservation advice rather than experimenting on an irreplaceable lens.
Restoration disclosure matters
If an instrument has been re-lacquered, replated, rebuilt or fitted with modern objectives, record those changes honestly. An appealing display piece and a historically original collector instrument are not always the same product.