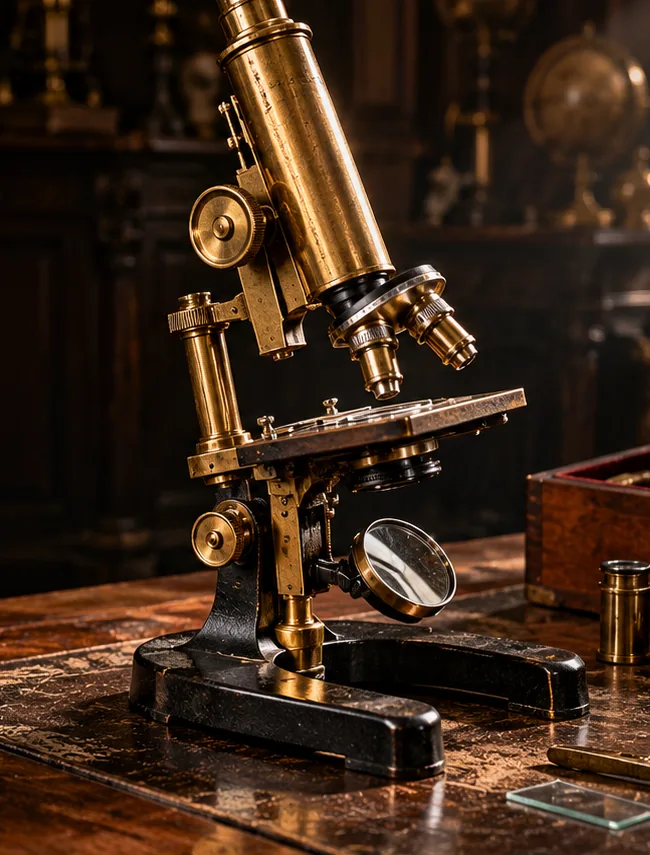
Every gear, joint and mirror on an old compound microscope has a job. Learn the language of the instrument before you buy it.
The optical tube and eyepiece
The body tube holds the optical path between objective and eyepiece. In many historic instruments a drawtube provides an additional mechanical adjustment or tube-length setting. Ask whether the eyepiece fits properly and whether there is residue, haze or fungus visible in the optical path. Do not force a stuck drawtube; age, old lubricant and damage can all cause resistance.
Objectives are a collection of their own
Objectives are the lens assemblies nearest the specimen. An instrument may have been sold with several, and spare objectives are often found in fitted brass cans. Maker inscriptions on an objective may differ from those on the stand. Photograph any engraving, numerical aperture and magnification details without unscrewing unfamiliar components. A missing objective can radically change what a microscope is useful for today.
The stage and the condenser
The stage supports the glass slide. Some have clips; more elaborate stands include movement controls or mechanical stages. Under the stage, a condenser or other illumination equipment may concentrate light; on simpler examples, a mirror is central to directing available light upward. A broken rack or missing condenser should be documented, but absence does not prove a microscope was originally sold with that component.
Focus controls and the limb
Coarse focus often moves a large tube or body assembly, while fine focus enables small adjustments needed at higher magnifications. The arm or limb supports the optics; the foot or tripod stabilizes everything. Look for bent screws, uneven stage travel, replaced knobs and evidence of force. Do not test stiff mechanisms with pressure. A preservation professional can better judge whether intervention is appropriate.
Turn vocabulary into better listings
When a seller says ‘all parts present,’ request a photograph of the stage, mirror, objectives, focusing controls and the interior of the case. Annotate missing components in your own checklist, and search museum object records for the intended configuration. Clear descriptions reduce uncertainty even if they never produce a confident model year.
A five-part guided inspection, without touching a screw
Begin at the base and work upward. The foot establishes stability; the support and limb show whether the body can be positioned; the focus controls reveal how motion was intended; the stage secures the specimen; and the optical train channels magnification and light. Photograph each assembly as it sits. If you cannot identify a part, record its location rather than guessing a technical name. Museum photographs provide much better comparators than stylized AI illustrations.
Pay special attention to parts that look easy to lose: mirrors, rotating stage clips, removable objectives and tiny optical accessories in the fitted case. An instrument can be aesthetically attractive and still need a difficult-to-source component before it is usable. Avoid ordering a similarly colored piece because it “looks Victorian”; dimensions and period compatibility are what matter.
| Part | Why it matters |
|---|---|
| Foot and limb | Stability and distinctive stand form |
| Stage | Specimen support and movement |
| Focus mechanism | Function and wear |
| Objectives and eyepieces | Optical system; often separately marked |
Research exercise: document observations and cite the source behind each attribution. These are evidence prompts, not expert authentication.